
How to Curve a Fitted Hat
Curving the brim of a fitted hat is a simple process that can give your hat that unique & popular look that everyone is rocking. Whether you're looking to add a touch of personality to your outfit or want a hat that fits your head better, curving the brim is a quick and easy solution. We're going to be talking about a simple method here, but understand there are multiple ways of bending the brim. As always choose the method that's right for you. Here's everything you need to know to get started.
Materials Needed:
- Fitted hat or snapback
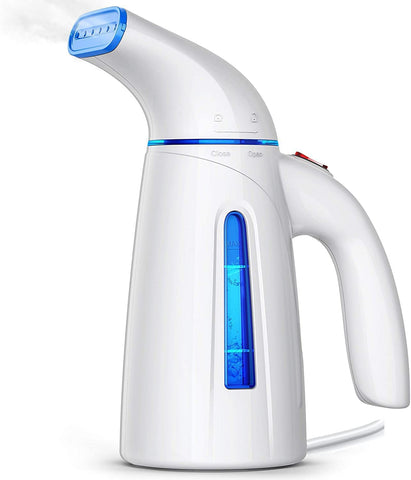
- Steaming device (such as a kettle or steamer)
- Mirror
- Soft cloth (such as a microfiber cloth)
Step 1: Steam the Brim The first step to curving the brim of your hat is to steam it. This will make the brim more pliable and easier to shape. To do this, fill a kettle or steamer with water and bring it to a boil. Hold the brim of the hat over the steam for about 30 seconds, making sure to keep the hat away from the hot water. If you don't have access to a steaming device, you can also hold the brim over a pot of boiling water, but be careful not to burn your hands.
Step 2: Shape the Brim Once the brim has been steamed, it's time to shape it. To do this, hold the hat in front of a mirror and use your hands to gently bend the brim to the desired shape. Use a soft cloth, such as a t-shirt or microfiber cloth, to help you shape the brim, as this will prevent any damage to the hat.Take your time and work slowly. You want to avoid bending the brim too far and ending up with a shape you're not happy with.
Step 3: Set the Shape Once you've shaped the brim to your desired shape, it's important to set the new shape in place. To do this, simply place the hat on a flat surface and gently apply pressure to the brim. Use your hands or a soft cloth to apply pressure, but be careful not to apply too much force. This could cause the brim to become misshapen. Leave the hat on a flat surface for a few minutes to allow the shape to set.
Step 4: Repeat the Process If you're not happy with the shape of the brim, simply repeat the process until you're satisfied with the result. Keep in mind that the brim may need to be steamed again before you start shaping it, so be prepared to repeat the steaming process as needed.
In a Few Words:
- To get the perfect curve, try experimenting with how much you bend the brim until you find the one that works best.
- If you're having trouble shaping the brim, try bending it with your hand or use rubber bands or a similar tools to help you get the desired shape.
- If the brim is still too stiff after steaming, try steaming it for a longer period of time.
Steamer & Cup Method
As we've stated above, there are multiple different ways to curve the brim of your fitted. If the above method isn't right for you, you may want to try the steamer & cup method. Alternatively you don't need to buy a steamer, you can create steam from a stove top from a pot of water. The below video describes the Steamer & Cup method (not an official name).
Curving the brim of a fitted hat is simple and very popular among Gen Z and Millennials. You can easily shape the brim to fit your head with the right tools and patience. There are plenty of hat stores that do this as a service as well. I believe Cap USA NYC (formerly Cap USA Harelm) is one of those stores, but there are many others.
For more frequently asked questions visit the FAQs section of our website.